
You can make rich, maple flavored ice cream at home in about 30 minutes of active work, plus freezing time, using just six ingredients and no specialized equipment beyond a standard ice cream maker. The secret lies in using real maple syrup (grade A amber is ideal) as both sweetener and primary flavor, which not only delivers that unmistakable woodsy sweetness but also lowers the freezing point naturally, keeping your finished ice cream scoopable straight from the freezer.
This recipe appeals to anyone who’s tasted maple syrup and thought, “Why isn’t this a more popular ice cream flavor?” The answer: most commercial versions rely on artificial maple extract, which misses the complexity of the real thing. When you make it yourself, you control the maple intensity and can explore the full spectrum of flavors that different syrup grades offer, from delicate golden to robust dark.
The process is straightforward. You’ll build a custard base, steep it with maple syrup, chill it thoroughly, then churn it into soft-serve consistency before hardening. The maple syrup does double duty, sweetening the cream while adding minerals and subtle caramel notes that deepen as the ice cream ages (though it rarely lasts long enough to test that theory). Because maple syrup contains natural compounds that affect texture, you’ll get a creamier result than with granulated sugar alone.
Whether you’re after a simple weeknight dessert or planning to impress guests with an artisanal treat that showcases one of nature’s most versatile sweeteners, homemade maple ice cream delivers satisfaction that store-bought versions simply can’t match.
Why Pure Maple Syrup Makes Superior Ice Cream
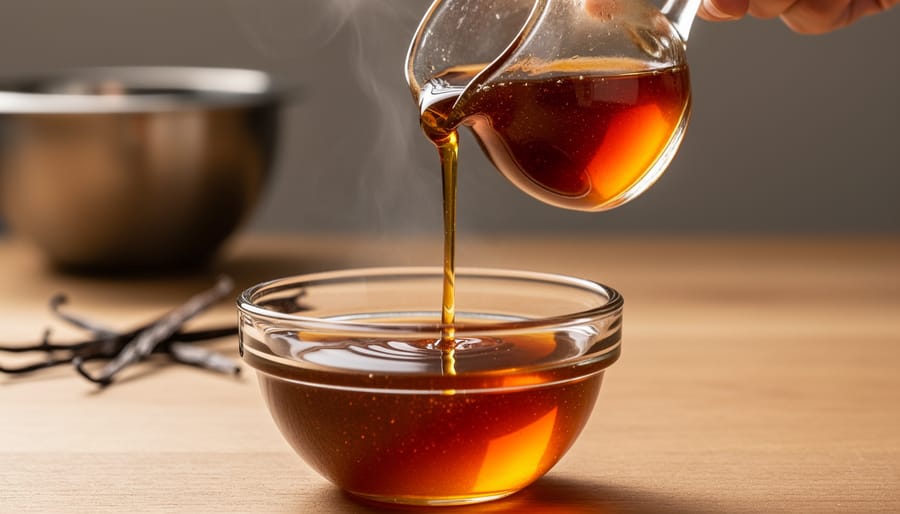
Real maple syrup transforms ice cream from ordinary to extraordinary through a combination of chemistry and natural complexity that no artificial substitute can match. The syrup contains over 300 distinct flavor compounds, including vanillin, various phenols, and complex sugars that create layers of taste beyond simple sweetness. These compounds develop during sap boiling, producing notes of caramel, vanilla, and subtle woody undertones that deepen as your ice cream melts on the tongue.
The magic extends beyond flavor. Maple syrup’s unique sugar composition, primarily sucrose with smaller amounts of fructose and glucose, acts as a natural anti-freeze agent in your ice cream base. These sugars lower the freezing point of your mixture and interfere with ice crystal formation, resulting in a smoother, creamier texture that stays scoopable straight from the freezer. Artificial maple flavoring, which is typically just fenugreek extract and coloring added to corn syrup, lacks this structural benefit entirely.
From a nutritional standpoint, you’re making a meaningful upgrade. While ice cream will never be health food, maple syrup contributes manganese, riboflavin, zinc, and polyphenol antioxidants that refined white sugar simply doesn’t offer. A half-cup serving of maple ice cream made with real syrup contains trace minerals and plant compounds that support your body’s antioxidant systems. The glycemic impact is also slightly lower than cane sugar, though moderation still matters.
When you reach for the real thing instead of imitation flavoring, you’re choosing a ingredient that works harder on every level, flavor, texture, and nutrition all improve simultaneously.
What You’ll Need: Equipment and Ingredients
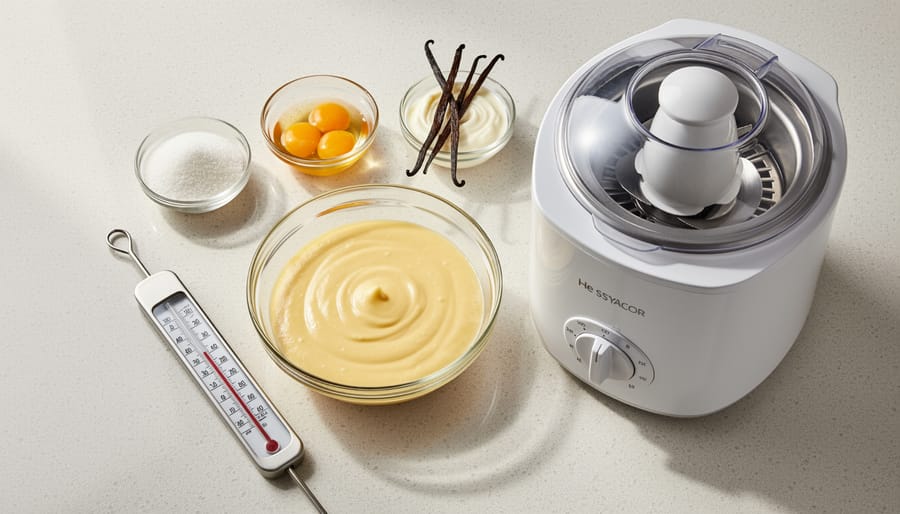
Making maple ice cream requires basic kitchen equipment and quality ingredients, none of which are exotic or difficult to source. Having everything ready before you start ensures a smooth process from start to finish.
Essential Equipment
- Ice cream maker (electric or hand-crank), electric models with built-in freezer bowls are most convenient
- Medium heavy-bottomed saucepan for heating the base
- Instant-read thermometer to monitor custard temperature accurately
- Mixing bowls (at least two medium-sized)
- Whisk and silicone spatula for stirring
- Fine-mesh strainer to catch any cooked egg bits
- Freezer-safe container with tight lid for storage
Core Ingredients for 1-Quart Batch
- 2 cups heavy cream (35-40% fat content for richness)
- 1 cup whole milk (or 2% for lighter texture)
- 3/4 cup pure maple syrup (Medium Amber or Dark grade)
- 4 large egg yolks (for custard base)
- 1/4 teaspoon salt to enhance maple flavor
- 1 teaspoon vanilla extract (optional but recommended)
The heavy cream provides the luxurious mouthfeel that defines premium ice cream, while whole milk prevents it from becoming too heavy. Maple syrup does double duty as both sweetener and primary flavoring, which is why grade matters. Medium Amber offers balanced sweetness with pronounced maple character, while Dark delivers more robust, almost caramelized notes. Avoid Golden grade here as it’s too delicate for frozen applications. If you’re curious about infused varieties, tea maple syrup can add intriguing herbal complexity to your ice cream.
For no-churn versions, swap the egg yolks for one 14-ounce can of sweetened condensed milk. Dairy-free adaptations work with full-fat coconut cream in place of heavy cream, though the maple flavor will compete more with coconut undertones. The thermometer isn’t optional if you’re making custard, as proper temperature control prevents scrambled eggs and ensures food safety.
Important Safety and Storage Considerations
Before you dive into churning your maple ice cream, a few food safety basics will protect your family and ensure your dessert stays delicious. Getting these right means you can enjoy your homemade treat with complete confidence.
Raw Egg Safety and Pasteurization
If you’re making a custard-based ice cream (which creates the silkiest texture), you’ll need to heat your base properly. Bring the custard to 160°F and hold it there for 15 seconds to kill any salmonella bacteria that might be lurking in raw eggs. Use a reliable instant-read thermometer, not guesswork. If you’d rather skip this step entirely, no-churn recipes that use whipped cream avoid raw eggs altogether.
Proper Storage Practices
Your finished ice cream will stay fresh for 2-3 weeks when stored correctly. Use an airtight, freezer-safe container, pressing plastic wrap directly onto the surface before sealing to prevent ice crystals from forming. Just as you’d carefully store maple syrup to preserve its quality, proper ice cream storage makes all the difference.
Check for these signs your ice cream has gone bad: off-smells, visible ice crystals coating the surface, or a gummy, separated texture. When stored properly in the coldest part of your freezer (not the door), your maple creation will maintain its creamy texture and rich flavor for weeks of enjoyment.
Step-by-Step: Making Classic Maple Ice Cream
Preparing the Maple Custard Base
Start by heating 1½ cups of heavy cream and 1 cup of whole milk in a heavy-bottomed saucepan over medium heat until it reaches 170°F. This temperature pasteurizes the mixture without scorching the dairy, which would create off-flavors that compete with the maple.
While the cream heats, whisk together 5 large egg yolks and ¾ cup of pure maple syrup in a separate bowl. The maple syrup grade matters significantly here: Medium Amber (formerly Grade A Dark Amber) delivers robust maple flavor that holds up through freezing, while Dark (formerly Grade B) provides even deeper notes if you want bold intensity. Avoid Golden or Light grades, which taste thin and sugary once frozen.
When the cream mixture steams, slowly pour half of it into the yolk mixture while whisking constantly. This tempers the eggs, preventing them from scrambling. Pour everything back into the saucepan and cook over medium-low heat, stirring continuously with a wooden spoon or silicone spatula.
The custard is ready when it coats the back of the spoon and holds a line drawn through it, typically at 175-180°F. This takes six to eight minutes. Do not let it boil or you’ll have sweet scrambled eggs. Strain the finished custard through a fine-mesh sieve into a clean bowl to catch any cooked bits, then nestle that bowl in an ice bath to stop the cooking immediately.
Creating the Perfect Texture
The churning process is where your maple custard transforms into actual ice cream, and timing here is everything. Pour your chilled custard base into your ice cream maker and start churning. You’re looking for a consistency similar to soft-serve ice cream, which typically takes 20-25 minutes depending on your machine. The mixture should coat a spoon and hold soft peaks when you lift the paddle.
What’s happening inside that churning bowl is actually fascinating: the dasher blade is whipping air into your base while simultaneously freezing it. This incorporation of air, called overrun, is what gives ice cream its light, scoopable texture instead of turning into a solid block. Your home machine is adding roughly 20-30% air, much less than commercial ice cream but enough for that perfect creamy mouthfeel.
Watch for these texture problems and their fixes. If your ice cream turns out icy, your custard base likely wasn’t cold enough before churning, or you’re using too little fat. Next time, chill it overnight and don’t skimp on the heavy cream. Too soft and soupy? Either your freezer bowl wasn’t completely frozen, or the mixture wasn’t churned long enough to reach soft-serve stage. Grainy texture usually means you overheated the custard and cooked the eggs into tiny curds, or ice crystals formed from temperature fluctuations.
Stop the machine when the mixture pulls away from the sides of the bowl and has thickened noticeably. It won’t be rock-hard yet, that’s normal. The consistency at this point should resemble a thick milkshake that you can barely pour.
The Final Freeze and Ripening
Once your ice cream reaches soft-serve consistency, resist the urge to dive in immediately. This intermediate stage is critical for developing the deep, nuanced maple flavor you’re after.
Transfer the churned ice cream into a pre-chilled, shallow, airtight container. Metal or thick plastic works best because these materials conduct cold efficiently. Spread the mixture evenly, depth matters here. A layer no thicker than 2-3 inches freezes more uniformly than a tall, narrow container. Press a sheet of parchment paper directly against the surface before sealing to prevent ice crystals from forming on top.
Place your container in the coldest part of your freezer, typically the back of the bottom shelf. Now comes the hardest part: waiting. Plan for a minimum of 4-6 hours for proper hardening. During this time, water molecules slow down and lock into place, transforming your soft mixture into scoopable ice cream.
But something else happens during this freeze that makes your patience worthwhile. Ice cream professionals call it ripening, and it’s where the magic truly unfolds. As the mixture firms up, flavor compounds have time to meld and mature. The maple notes deepen and become more complex. That bright, almost sharp sweetness you tasted fresh from the churner mellows into something rounder and more sophisticated.
For absolute peak flavor, let your ice cream ripen for 12-24 hours before serving. The difference is remarkable. Those extra hours allow the vanilla (if you added any), cream, and maple to achieve complete harmony. The texture stabilizes too, becoming smoother and more resilient against melting.
If you can wait a full day, you’ll taste why commercial ice cream makers build ripening time into their production schedules.
How to Tell When Your Ice Cream Is Perfect
Your maple ice cream is ready when it passes three simple tests. First, check the texture by dragging a spoon across the surface, you should see a clean trail that holds its shape without immediately flowing back together. The consistency should resemble firm gelato, not soft-serve. If you can press a finger into the surface and leave a slight indent that stays visible, you’ve achieved the right firmness.
For scoopability, let the container sit at room temperature for five to ten minutes, then scoop. Perfect maple ice cream forms smooth, rounded balls that hold together without crumbling or melting too quickly. If your scoop breaks apart in chunks, the mixture froze too hard (usually from insufficient fat content). If it slides off the scoop like pudding, it needs more freezing time or your maple-to-cream ratio was off.
Taste a small spoonful to evaluate flavor intensity. The maple should come through as the dominant note without overwhelming sweetness, and you shouldn’t detect any icy or grainy sensations on your tongue. The flavor actually develops over the first twenty-four hours as the ingredients meld, so don’t judge too harshly right after churning.
If your ice cream seems too sweet, you added too much syrup. Too icy means insufficient fat or over-churning. Grainy texture indicates ice crystals from slow freezing, next time, pre-chill your mixture longer and keep syrup fresh at proper temperatures.
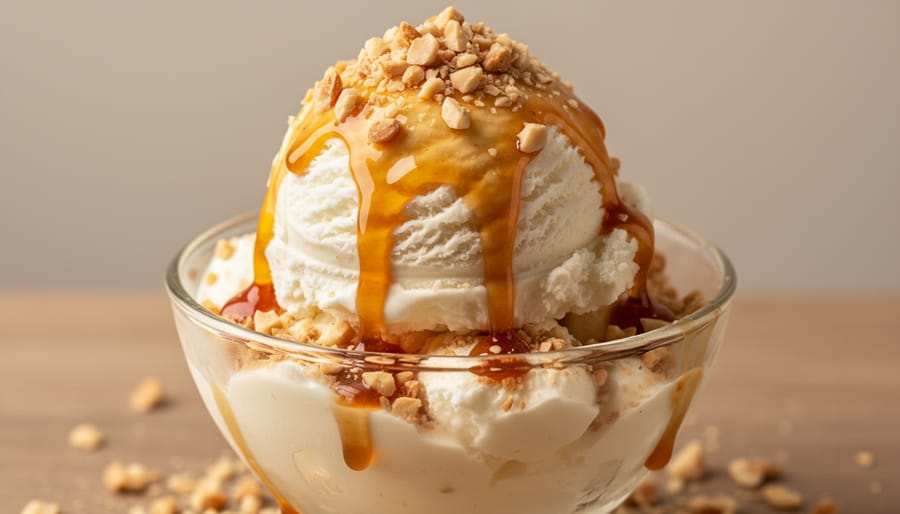
For serving, let it soften slightly, then garnish with toasted pecans, a drizzle of warm maple syrup, or maple sugar crystals for textural contrast.
Creative Variations and Mix-Ins
Once you’ve mastered the basic recipe, maple ice cream becomes a canvas for creative flavor combinations that showcase just how versatile this natural sweetener can be.
The key to successful mix-ins is timing. Add chunky ingredients like nuts or candy pieces during the final two minutes of churning, when the ice cream has reached soft-serve consistency. This prevents them from sinking or disrupting the texture. Liquid flavorings and spices, however, should go directly into your custard base before chilling.
Here are some tried-and-tested variations that elevate maple ice cream from simple to spectacular:
- Candied Pecans: Toast pecans with a tablespoon of maple syrup until caramelized, then fold them in for a crunchy, nutty contrast that amplifies the maple flavor.
- Bourbon Maple: Add two tablespoons of bourbon to the base for a sophisticated, warming note that complements maple’s natural complexity (the alcohol also keeps the texture softer).
- Maple-Bacon: Cook bacon until crispy, crumble it fine, and add during the final churn for a sweet-savory combination that’s become a modern classic.
- Cinnamon-Maple: Steep a cinnamon stick in the warming cream, or add half a teaspoon of ground cinnamon for a warm, spiced version perfect for fall.
- Maple-Walnut: Fold in toasted walnuts and a swirl of extra maple syrup during the final churn for the traditional pairing that never goes out of style.
For adults in states where cannabis is legal, a maple-cannabis infusion creates a sophisticated dessert with therapeutic benefits. Infuse your cream with decarboxylated cannabis before making the base, following proper dosing guidelines. Our site’s cannabis recipe collection offers detailed instructions for safe, effective infusions.
Remember that add-ins affect freezer storage tips and shelf life. Ice cream with fresh ingredients like bacon should be consumed within a week, while nut-based variations last the standard two weeks when properly stored in an airtight container.
Frequently Asked Questions
Making maple ice cream at home raises predictable questions, especially if you’re new to frozen desserts. Here are answers to the most common concerns that come up during the process.
Can I make maple ice cream without an ice cream maker?
Yes, using the no-churn method: whip heavy cream to stiff peaks, fold in sweetened condensed milk and maple syrup, then freeze for at least 6 hours. The texture won’t be quite as smooth as churned ice cream, but it’s remarkably close and requires zero special equipment.
How long does homemade maple ice cream last in the freezer?
Properly stored in an airtight container, your maple ice cream stays at peak quality for about two weeks. After that, it’s still safe to eat but may develop ice crystals and lose some of its fresh maple flavor intensity.
Can I use pancake syrup instead of real maple syrup?
You can, but you shouldn’t if flavor matters to you. Pancake syrup is mostly corn syrup with artificial maple flavoring, which creates a one-dimensional sweetness rather than the complex, woody notes of real maple syrup that make this ice cream special.
Why is my ice cream icy instead of creamy?
Ice crystals form when there’s too much water in your base, insufficient fat content, or the mixture wasn’t churned long enough to incorporate air properly. Make sure you’re using full-fat dairy and churn until it reaches soft-serve thickness before freezing.
What’s the best maple syrup grade for ice cream?
Medium Amber (Grade A Amber) or Dark (Grade A Dark) deliver the richest maple flavor without being overwhelming. Light syrup works but tastes subtle, while Very Dark can be too intense for some palates.
Can I reduce the sugar content in the recipe?
Cutting back too much affects texture more than just sweetness since sugar lowers the freezing point and keeps ice cream scoopable. You can reduce maple syrup by up to 25 percent, but go beyond that and you’ll end up with a brick-hard frozen block.
These questions pop up because ice cream making involves real chemistry, not just mixing and freezing. Understanding the why behind each answer helps you troubleshoot on the fly and adjust recipes to your taste. The beauty of working with maple syrup is its consistency as an ingredient once you nail down your preferred grade and ratio, you’ll get reliable results every time.
You’ve just unlocked a world where pure maple syrup becomes the star ingredient in your freezer. Making maple ice cream at home isn’t complicated or time-consuming, it’s genuinely achievable with basic kitchen tools and about an hour of active work. What started as five simple steps can now expand into countless variations, each one showcasing maple’s remarkable ability to transform ordinary desserts into something memorable.
Don’t stop at ice cream. That bottle of maple syrup sitting in your pantry is waiting to become maple semifreddo, frozen yogurt, gelato, or even sorbet. The same principles you’ve learned here, balancing sweetness, preventing ice crystals, layering flavor, apply across every frozen treat you’ll create.
This is craft food production stripped of pretension. You’re not just following a recipe, you’re participating in a tradition that connects Vermont sugar shacks to your kitchen table. Each batch teaches you something new about temperature, texture, and your own preferences.
Start with the classic version tonight. Tomorrow, try adding toasted walnuts. Next week, experiment with that bourbon variation. The beauty of homemade ice cream lies not in perfection, but in the small discoveries you’ll make along the way, one scoop at a time.